
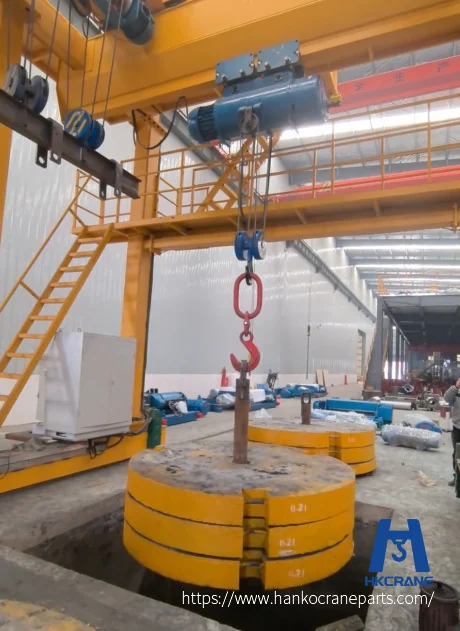
Load testing an electric hoist before first use is not paperwork — it proves the unit, its brake, and its limit switches handle rated work. This electric hoist load test procedure walks you through the five test stages in order.
Quick Answer: The Test Sequence
Run these stages in order, and only after the previous one passes:
- No-load test: run the hoist empty, check travel and limits.
- Static test: hold 125% of rated load about 100 mm off the ground for 10 minutes.
- Dynamic test: run lifting and lowering cycles at 110% of rated load.
- Brake test: verify the brake holds the rated load without creeping.
- Final inspection and records: log every reading with the delivery documents.
The percentages below follow ISO 4310 test practice. Always confirm the exact values against the standard and manual that apply to your hoisting equipment.
Step 1: Prepare the Test Site and Load
Set up the test area before you energize anything. Clear the runway zone, post warning signs, and make sure nobody stands under the hook.
Prepare the test load with a known weight — calibrated test weights or a certified load cell. Confirm the actual weight against the hoist nameplate capacity before the first lift. A load that is heavier than the test value gives a false pass; lighter gives a false fail.
Check the hoist itself: the wire rope or chain condition, the hook, the limit switches, and the brake setting. A hoist with visible damage goes to repair first, not to a load test. The daily checks that catch this early are covered in the electric hoist maintenance plan.
Step 2: No-Load Test
Power the hoist only after installation, wiring, and brake settings are complete. Run the hoist empty and confirm three behaviors:
- The hook rises on the up command and lowers on the down command.
- Both limit switches cut travel at the correct points.
- The brake holds the empty hook instantly when the control is released.
Travel the trolley the full runway length in both directions. Watch for rubbing, skipping, or abnormal noise. No-load problems here are cheap to fix; the same faults under load become breakdowns, in the electric hoist failure patterns described on the blog.
Step 3: Static Load Test (125% of Rated Load)
The static test proves the structural and holding capacity of the hoisting equipment.
Lift a test load of 125% of rated capacity about 100 mm off the ground. Hold it there for 10 minutes. During the hold, inspect these points:
- Deformation or cracking in the hook, load block, or mounting.
- Slippage of the brake, visible as a slow descent.
- Oil or grease leaking from the gearbox or motor.
The load must not drop during the hold. Any movement means the brake or the hoist mechanism is not fit for service.
Step 4: Dynamic Load Test (110% of Rated Load)
The dynamic test proves the hoist can do real work — lifting, lowering, and moving while loaded. ISO 4310 practice runs this stage at 110% of rated load.
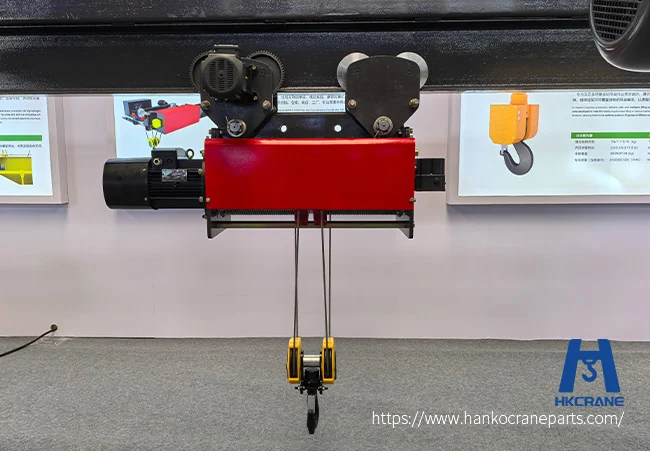
Run the hoist at 110% of rated load through repeated lifting, lowering, and trolley travel cycles. On a wire rope hoist, watch the rope spool onto the drum and the hook block move freely. Watch the start and stop behavior of each motion. Listen for noise or vibration that was not present in the no-load run. The hoist should accelerate and stop smoothly, and the controls must respond instantly.
Step 5: Brake Test
The brake test is the safety gate of the whole procedure. A hoist whose brake fails under load is a hoist that cannot be used.
Raise a rated load, then release the control. The brake must hold the load without drifting. Then lower the load halfway and stop. Repeat several times and measure the stopping distance — it should be short and consistent.
After the brake test, re-check the limit switches. The upper limit must cut the lifting before the hook block strikes the drum, and the lower limit must cut lowering before the rope runs out.
Records and Acceptance
Keep every reading with the delivery documents. The test date, the load values, the temperatures, and the results belong in the file that travels with the hoist.
If your project requires documented load test certificates, they are available on request — ask for the exact format before you order. The records also feed the electric hoist installation guide notes and the maintenance plan above.
자주 묻는 질문
How much load can you test an electric hoist with?
What is the load test procedure for an electric hoist?
How long do you hold a static load test?
How do you test the brake on an electric hoist?
When should an electric hoist be load tested?
Test Every Hoist Before It Earns the Load
A load test is the final gate before a hoist carries real production loads. Run the five stages in order, keep the records, and repeat the test after any repair that affects the load path. When you need the procedure confirmed for your model, Hanko engineers can check your hoist parameters and duty data.

 English
  Korean
  Russian
  Spanish
  Malay
Malay  Afrikaans
  Bulgarian
  French
  Bengali
  Italian
  Hungarian
  Vietnamese
  Thai
Thai  Indonesian
  German
  Arabic
  Japanese